
Pathplanner Projects
Pathfinding on Pathplanner
Objectives
- Implement pathfinding command to an arbitrary position on the field in Simulation and on Hardware
- Use Advantagescope to view and analyze data from live sources
- Simulate code before deploying to a robot
Prepare Development Environment
You will need a laptop with WPILIB VS code, Pathplanner, AdvantageScope, Driver station (if using robot)
Checkout pathplanner-pathfinding branch of Team3176/Code_2024
Simulate Base Code
verify that the robot code is set for simulation in Constants.java the robot type should be RobotType robot = RobotType.ROBOT_SIMBOT;
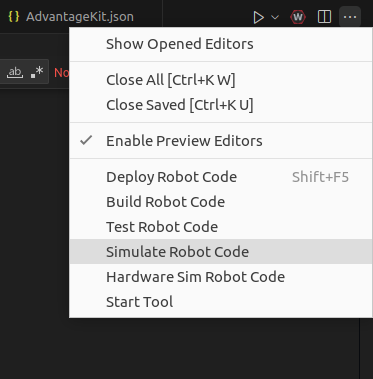
Click the three dots as if you were deploying and select "Simulate Robot Code"
select "Sim GUI"

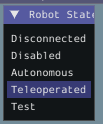
Set driver station to Blue 1
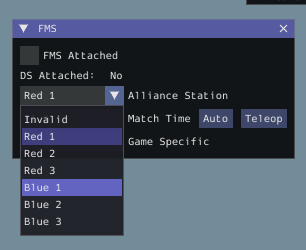
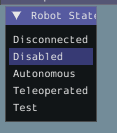
Then set robot to disabled
You can only change the robot alliance station when the robot is in Disconnected state
Setup AdvantageScope
Check preferences under Help -> Show Preferences. Set Live source to NetworkTables 4

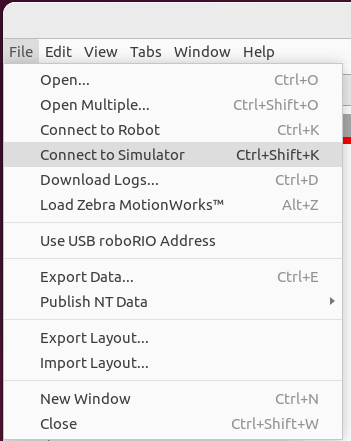
Connect to the Simulator by File -> Connect to Simulator
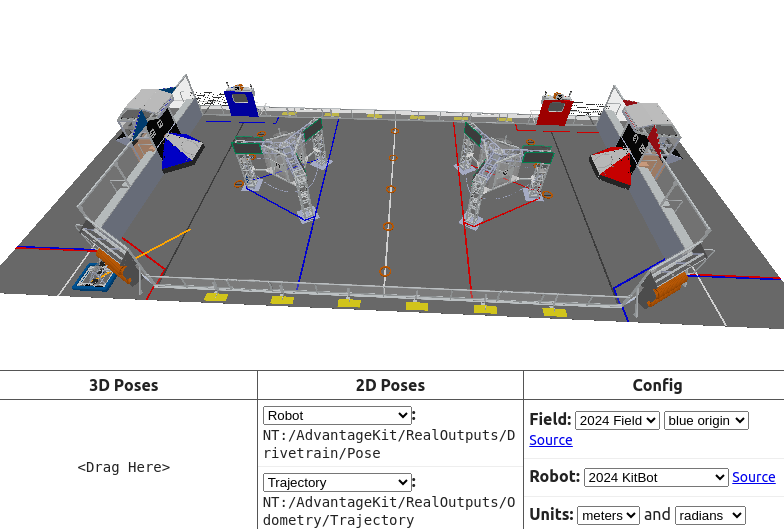
Add a 3d Field widget by clicking the plus
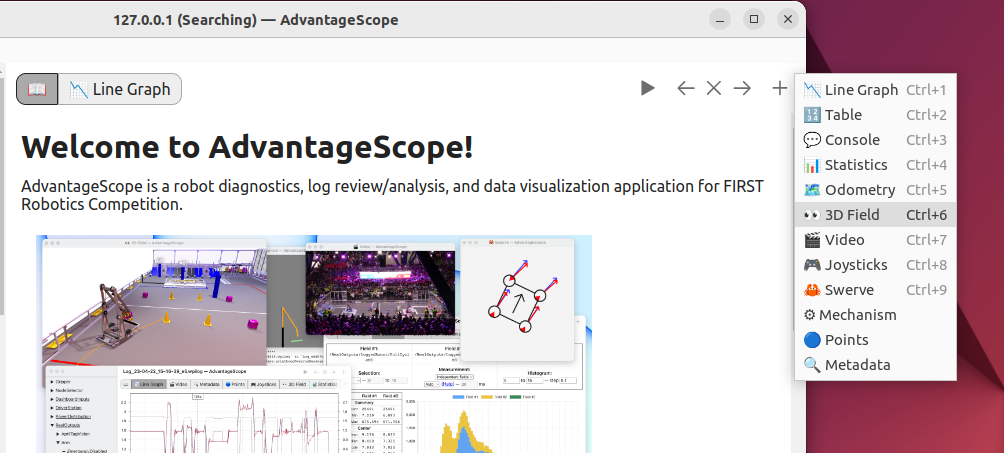
On the 3d Field add the robot pose under AdvantageKit/RealOutputs/Drivetrain/Pose. Drag the field into the 2d Poses
Drive in simulation
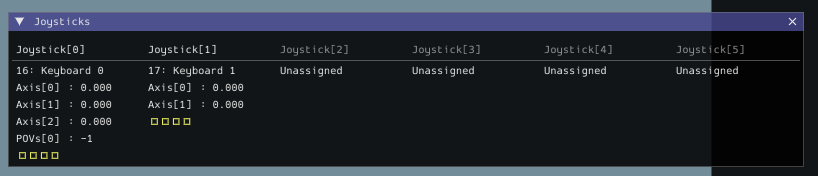
Using the "IJKL" for translation and "WASD" for rotation click into the Robot Simulation window for your keyboard inputs to be registered
you should see the values change in the joysticks panel
Enable the robot in the robot state to teleoperated
try driving around with the "keyboard joysticks" (IJKL) and follow the pose on AdvantageScope
Your keyboard inputs are only registered if you are clicked into the robot simulation window. Move this window to one the bottom of your screen and AdvantageScope to the top
End the simulation by closing the Robot Simulation window
Pathplanner pathfinding
We want the ability to press a button and have the robot automatically drive to a point on the field. To do this we will write a command within Drivetrain and then link that command to a button in RobotContainer
Drivetrain
Complete the method Command goToPoint(Pose2d point) in Drivetrain.java. You will need to return a command built from AutoBuilder. It will be extremely helpful to look at the official documentation. AutoBuilder.pathfindToPose() function is what you will want to do
goToPoint implementation is VERY similar to the official documentation copy and paste as you need!
RobotContainer
Now we will link the command to a button.
We will use the transStick button 2 so when it is held it runs your goToPoint command. The whileTrue function will be useful check out the page Binding Commands to Triggers.
To get the command to pass to whileTrue() you will need to call the drivetrain function goToPoint you made and pass it a Pose2d object. We would like the point to be 2.0,2.0. Look at the Pose2d constructor and pick one.
Test in Simulation!
Simulate your code like before.
Once you have enabled the simulation click into the robot simulation window and press the comma "," this should run your command if you have bound the command to button 2 of the trans stick
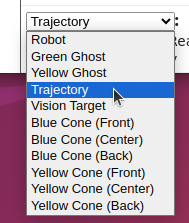
Visualize the current PathPlanner path Under RealOutputs->Odometry->Trajectory. Drag this field to 2D Poses and then set the type to trajectory
Then when you run your command you should see the path it is trying to follow
Drive around and try having it plan a path from different points. Remember to hold down the button for it to drive.
Next Steps
- You can now try it on the real robot once it is proven in simulation.
- Try adding an addition point to plan to bound to button 3
- Draw a path in pathplanner and use the Autobuilder.pathfindToPath() method