
Photonvision Setup
Connect and power the orange pi
The orange pi 5 must have power in the USB port as seen here 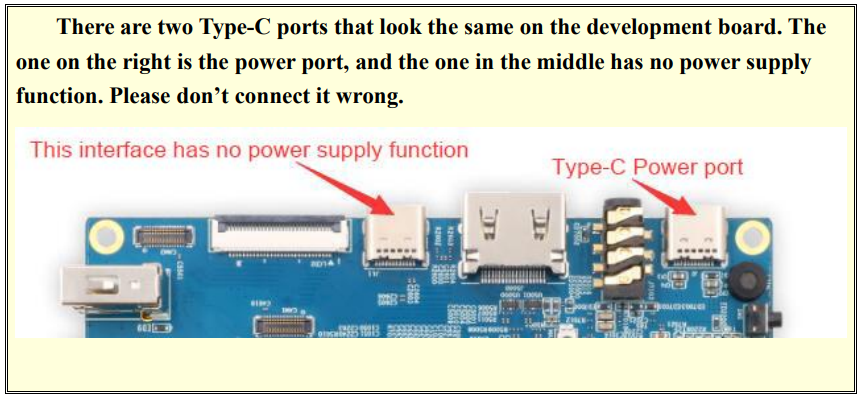
You can connect via a wall adaptor or a USB power bank.
Connect the Camera to one of the USB ports.
Connect an Ethernet from orange pi into the robot switch (through the tether port possibly)
Connect computer to Robot Radio
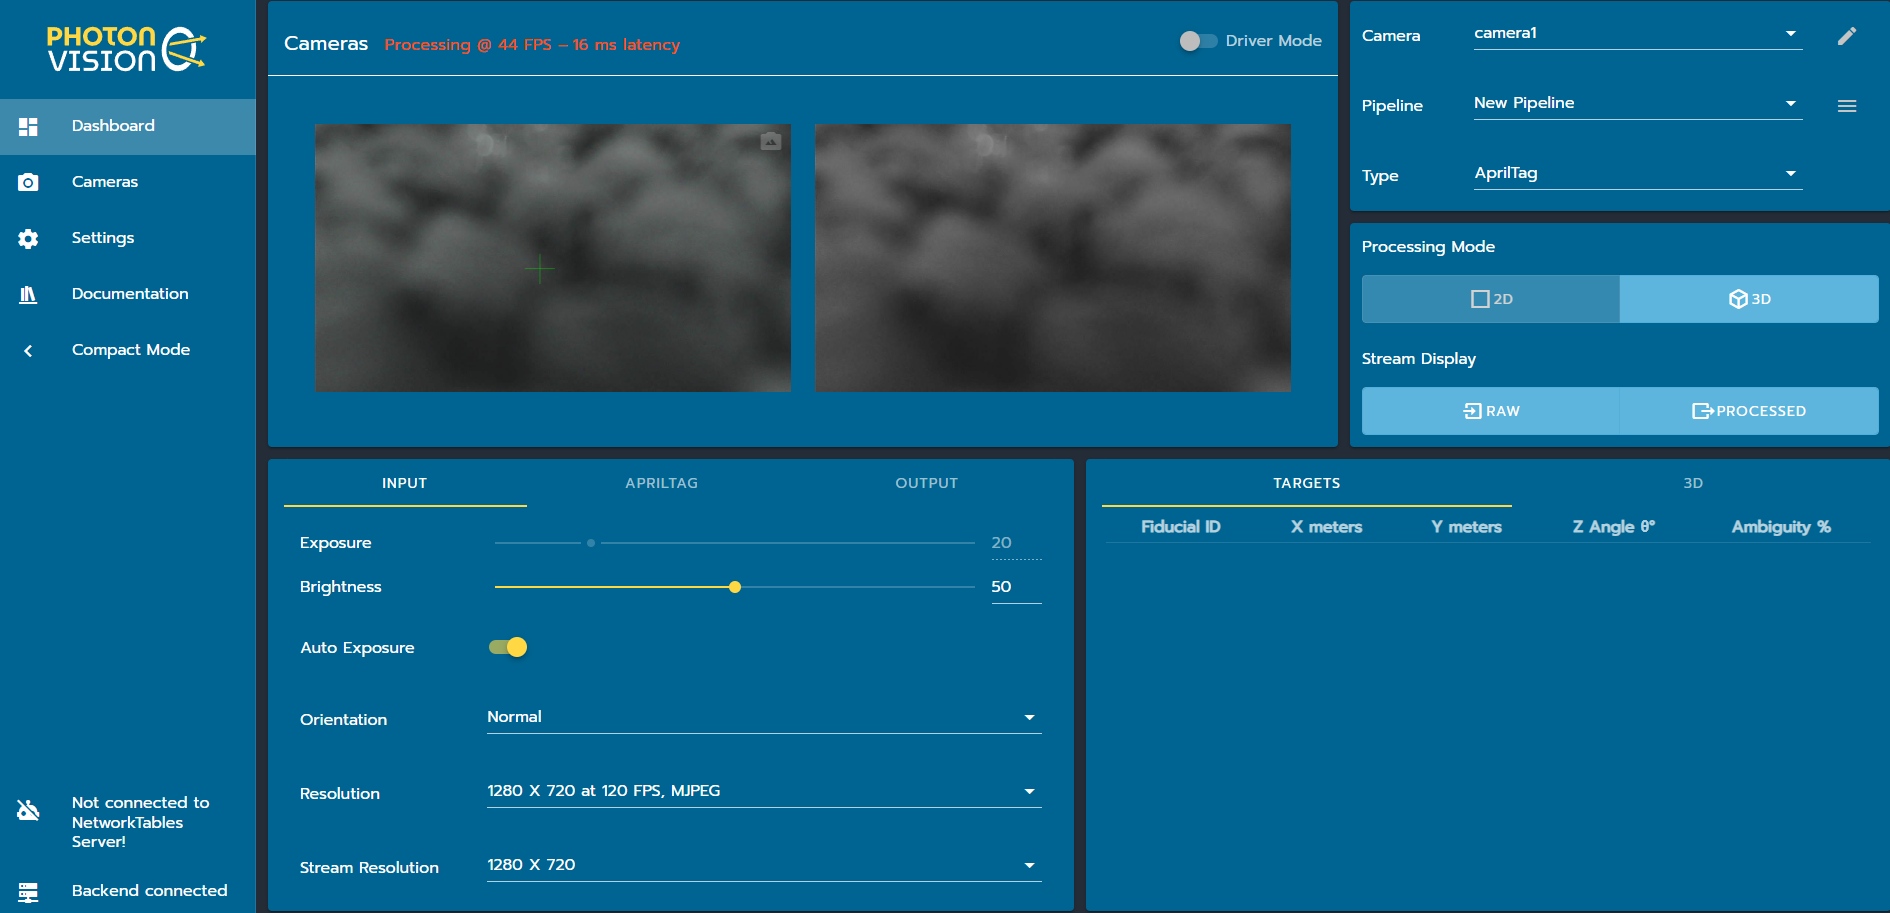
Photonvision dashboard
Confirm the dashboard is accessible at http://photonvision.local:5800/
You should see
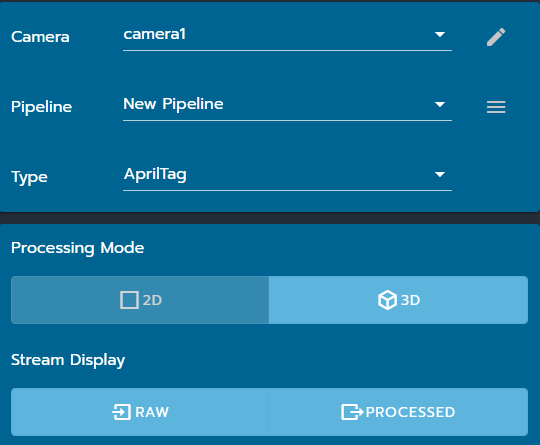
Setting up a pipeline
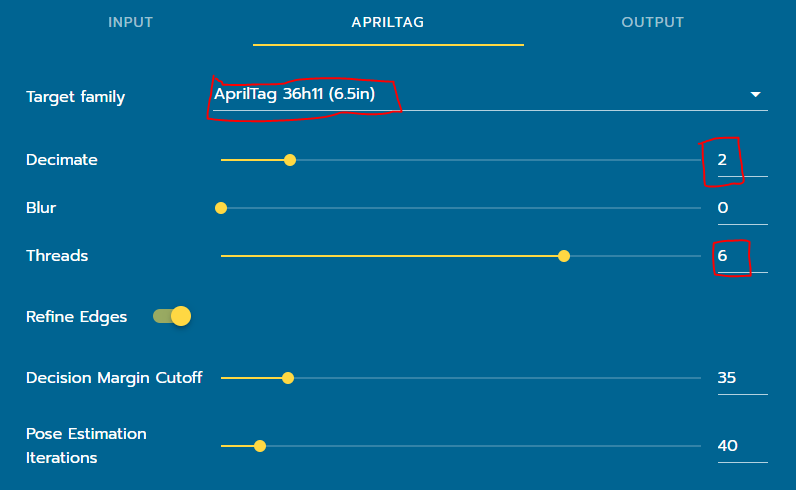
Select apriltag as the pipeline type
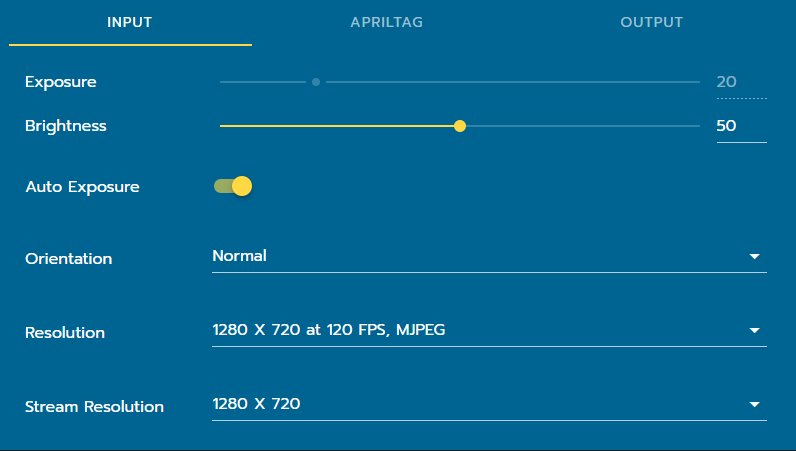
for the input tab select 1200x700 as resolution for the pipeline
under the Apriltag tab change the following options
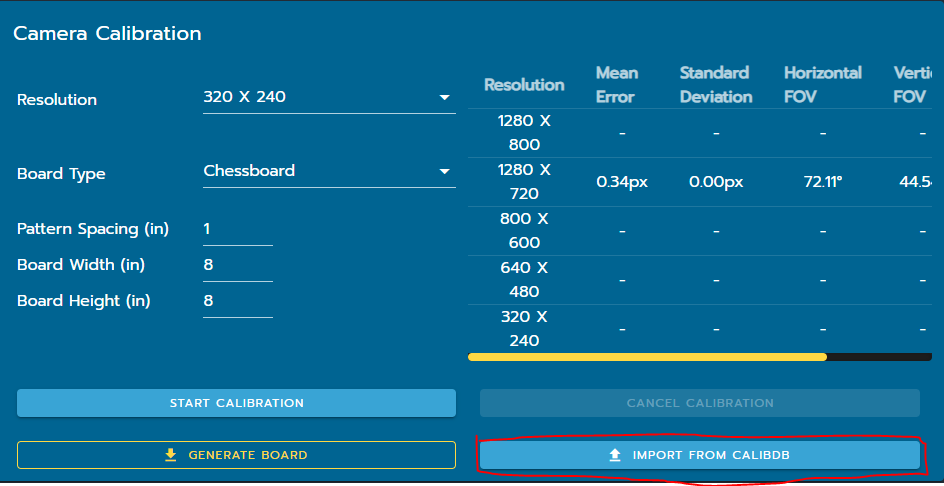
Cameras Calibration
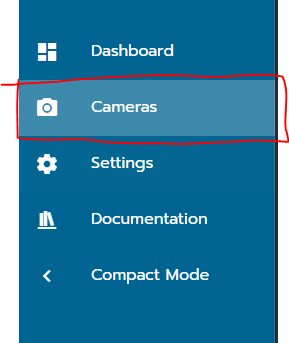
select the camera tab
Download the calibration file from our github: https://github.com/Team3176/Code_2023_ebot/blob/2024_beta/src/main/java/team3176/robot/subsystems/vision/calib_arducam_backward__0c45_6366__1280%20(1).json
then upload the file to photonvision with the upload from calibdb
Switch to 3D and test
back on the main dashboard switch your mode into 3d now that the camera is calibrated
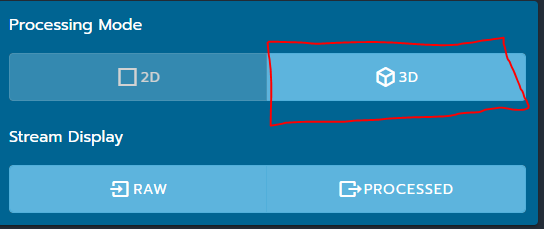
you should now if you have a tag in front of the camera see a 3d box
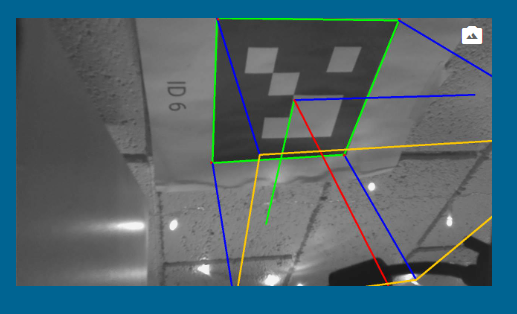
Test and see how far away you can be and still see a tag.
Note down the average FPS and Latency you see with those setting. Feel free to try other settings and see how that impacts performance!
Other Resources
https://docs.photonvision.org/en/latest/docs/getting-started/pipeline-tuning/about-pipelines.html